Key Takeaways:
- Container images inherit layered risk, so most CVEs trace back to base images and dependencies, not your own code.
- Scanners disagree because each builds a different inventory and matches it differently, via CPE, PURL, or distro advisories.
- Raw CVE counts mislead; CVSS, EPSS, KEV status, and reachability together reveal real risk.
- Image scanning catches known component CVEs, leaving logic flaws and chained attacks for runtime and pentesting.
Run any mature scanner against a container image you built yesterday, and you will likely see dozens — sometimes hundreds — of CVEs. Most of them sit in code you never wrote. That is the uncomfortable reality container image scanning exists to deal with: modern images are assembled from layers of inherited software, and every layer carries someone else’s vulnerabilities into your production environment.
What you need is a mechanism-first approach towards understanding container image scanning. This involves answering;
- What a container image actually is?
- Where do its vulnerabilities come from?
- How do scanners inventory and match components under the hood?
- Why do two scanners disagree on the same image?
- How to run a scan-and-triage workflow that surfaces real risk instead of noise?
What a Container Image Actually is
A container image is basically strata of read-only filesystem layers, each one holding records of the changes made by a step in your Dockerfile (or equivalent build). A typical image stacks up roughly like this:
- A base image at the bottom (say, debian:12 or alpine:3.20)
- OS packages installed on top of it (openssl, glibc, curla language runtime (Node, Python, the JRE)
- Application dependencies (npm, pip, Maven, Go modules)
- Finally, your own code and configuration at the top
The security implication of this layered design is simple and unforgiving: every layer inherits the risk of the layer beneath it. If your base image ships an outdated openssl, every image you build on top of it ships that outdated openssl too, no matter how clean your own code is. In practice, the overwhelming majority of vulnerabilities in a scan report live in layers you didn’t write.
| Image layer | What it contains | Typical risk it carries |
|---|---|---|
| Your app code | Business logic and configuration | Baked-in secrets, root user, misconfigurations |
| App dependencies | Direct + transitive packages (npm, pip, Maven, Go) | Often the largest source of exploitable CVEs |
| Runtime layer | Language runtime and framework (Node, Python, JRE) | Inherited CVEs in interpreters and standard libraries |
| OS packages | apt/apk/yum packages: openssl, glibc, curl, zlib | Bulk of raw CVE counts in most scan reports |
| Base image | The foundation everything else sits on | An outdated or poisoned base propagates risk to every image built on it |
Definition: Container image scanning is the process of inspecting each layer of a container image to identify known vulnerabilities in components — OS packages, language dependencies, configurations, and embedded secrets — before the image is deployed and continuously after it lands in a registry or a running cluster.
Where Container Image Vulnerabilities Come From?
Understanding where findings originate makes scan reports far less mystifying. Nearly everything a scanner flags falls into one of five buckets.
- OS packages. The apt, apk, or yum packages inherited from your base image — openssl, zlib, glibc, busybox, and friends. These typically account for the bulk of raw CVE counts, because a general-purpose base image ships far more software than your application.
- Language dependencies. Your direct dependencies plus the much larger tree of transitive ones pulled in through npm, pip, Go modules, or Maven. A single top-level package can drag in hundreds of transitive dependencies, and any one of them can carry an exploitable flaw into your image, often one that becomes remotely reachable the moment the container exposes an API (which is why image scanning pairs naturally with API penetration testing).
- Dockerfile and configuration issues. Not every finding is a CVE. Running as root, exposing unnecessary ports, pulling FROM a mutable latest tag, or using ADD to fetch content from remote URLs all widen your attack surface, and good scanners flag them as misconfigurations alongside vulnerable packages.
- Embedded secrets. API keys, tokens, and private keys baked into a layer during build. A subtle trap here: because layers are immutable, deleting a secret in a later Dockerfile instruction does not remove it, as the file still exists in the earlier layer and can be recovered by anyone who pulls the image.
- Malware and tampered artifacts. Poisoned base images on public registries, typosquatted packages, and supply-chain injection during build. These are rarer than stale packages but far more dangerous, because they represent deliberate compromise rather than neglect.
The common thread: most findings come from components you inherited, not code you wrote. This ought to define how you read reports and fix things as well. Often the highest-leverage remediation is not patching but swapping or rebuilding the base image.
How Container Image Scanning Works Under the Hood
Every image scanner, from open-source CLIs to enterprise platforms, follows the same three-step mechanism: build an inventory, match it against vulnerability data, and produce a prioritized report. The main reason for disagreement between tools and their differences emanates from how each step is implemented.
Step 1: Component inventory (the SBOM)
The scanner unpacks the image’s layers and catalogs everything installed. It reads package-manager databases (dpkg status files, apk installed lists, RPM databases), parses language-ecosystem manifests and lockfiles (package-lock.json, requirements.txt, go.sum, POM files), and fingerprints standalone binaries by file signature when no manifest exists.
The output is a software bill of materials (SBOM); a structured inventory of every component and its version, typically in the CycloneDX or SPDX format. Everything downstream depends on this inventory: a component the scanner fails to catalog is a vulnerability it can never report.
# Generate a CycloneDX SBOM for an image (Anchore Syft)
syft nginx:1.27 -o cyclonedx-json=sbom.json
Step 2: Matching components against vulnerability databases
Next, each cataloged component is cross-referenced against vulnerability databases (the NVD, the GitHub Advisory Database (GHSA)), and distribution-specific security trackers from Red Hat, Debian, Ubuntu, Alpine, and others. This matching step is where scanner engineering really shows, because there are three quite different ways to do it:
CPE matching (NVD-style)
Components are mapped to Common Platform Enumeration identifiers and compared against NVD records. CPE is broad but coarse: it often can’t tell a Python library named “foo” from an unrelated C++ project named “foo”, which produces cross-ecosystem false positives. Anchore’s analysis of community-reported false positives found CPE matching to be the single most common cause.
PURL matching (ecosystem-aware)
Package URLs encode the ecosystem alongside the name and version (pkg:npm/[email protected]), so an npm package can only match npm advisories. This is tighter and dramatically reduces false positives. Anchore reported up to an 80% reduction in some ecosystems after moving Grype away from CPE-first matching.
Distro-scoped matching
For OS packages, mature scanners consult the distribution vendor’s own advisories (Red Hat OVAL data, Ubuntu/Debian security trackers) rather than raw NVD ranges. This matters because distros backport security fixes into older version numbers — Red Hat may patch a flaw in openssl 3.0.7 without ever shipping 3.0.8.
A scanner that only compares version strings will flag that patched package as vulnerable; one that reads the vendor advisory will correctly clear it.
This is the answer to a question that puzzles most teams sooner or later: why do two scanners return different results on the same image? Because they build different inventories and, more importantly, match them using different methods against different databases.
Neither tool is necessarily wrong; they are answering subtly different questions.
Step 3: Output: CVEs, severity, and fix data
Finally, the scanner emits its report: a list of CVEs, each tied to the component and layer it lives in, with a CVSS severity score and the fixed version to upgrade to. Better tools enrich this further with EPSS scores (the modeled probability of exploitation) and flags for CVEs on CISA’s Known Exploited Vulnerabilities (KEV) catalog, which turns a flat CVE list into something you can actually prioritize.
Types of Container Image Scanning (and When Each Runs)
“Scanning” is not a one-time activity; it happens at four distinct points in the image lifecycle, and each point covers a blind spot the others miss.
Static image scanning analyzes the image at rest, before deployment. It is fast, reproducible, and requires no code execution the workhorse of shift-left security.
Registry scanning continuously rescans images already stored in your registry as new CVEs are published. This is essential because an image that was scanned clean on Monday can be critically vulnerable by Friday without a single byte changing. The image stays the same; it’s just the world’s knowledge that changed.
CI/CD gate scanning runs the scan inside the pipeline and fails the build on policy. For example, “no fixable criticals reach production.” This is where scanning stops being informational and starts being enforced.
# Fail the pipeline if HIGH/CRITICAL CVEs are found (Aqua Trivy)
trivy image --severity HIGH,CRITICAL --exit-code 1 myapp:1.4.2
Runtime scanning inspects what is actually loaded and executed in running containers. It catches drift (containers modified after deployment) and provides reachability signals such as whether a vulnerable library is even loaded into memory. Secondly, it also marks the boundary of what image scanning can do: flaws in your own application logic, authentication, and access control need web application penetration testing rather than component matching.
| Scan type | What it covers | Speed | Blind spot |
|---|---|---|---|
| Static image | All layers of the image at rest, pre-deploy | Fast | CVEs published after the scan; runtime behavior |
| Registry | Stored images, rescanned as new CVEs drop | Continuous | Images modified or drifted after deployment |
| CI/CD gate | Images at build time, enforced by policy | Per build | Anything already deployed before the policy existed |
| Runtime | What is actually loaded and executing | Ongoing | Vulnerabilities in code paths not yet exercised |
Scanning Methods & the Tool Landscape
Two workflow decisions shape how scanning fits your pipeline more than any individual tool choice.
SBOM-first vs. all-in-one
An SBOM-first workflow generates the inventory once (with a tool like Syft) and then rescans that SBOM against fresh vulnerability data (with Grype) as often as you like.This is cheap re-assessment without re-pulling or re-unpacking the image. All-in-one tools like Trivy collapse inventory and matching into a single command, which is simpler but couples the two steps.
Agentless vs. agent-based
Agentless scanners pull images from your registry and analyze them externally, adding zero footprint on your workloads. Agent-based approaches run inside the cluster and see runtime reality: what’s loaded, what’s executing, what drifted. Most mature programs end up using both.
On the tools themselves, a brief and neutral map:
- Trivy is the popular all-in-one (images, filesystems, IaC, secrets)
- Syft + Grype form the modular SBOM-first pair
- Snyk Container adds developer-workflow integration and base-image upgrade advice on a commercial footing
- Clair powers registry-side scanning (notably in Quay and Harbor deployments)
- Docker Scout brings scanning natively into the Docker Desktop and Hub workflow.
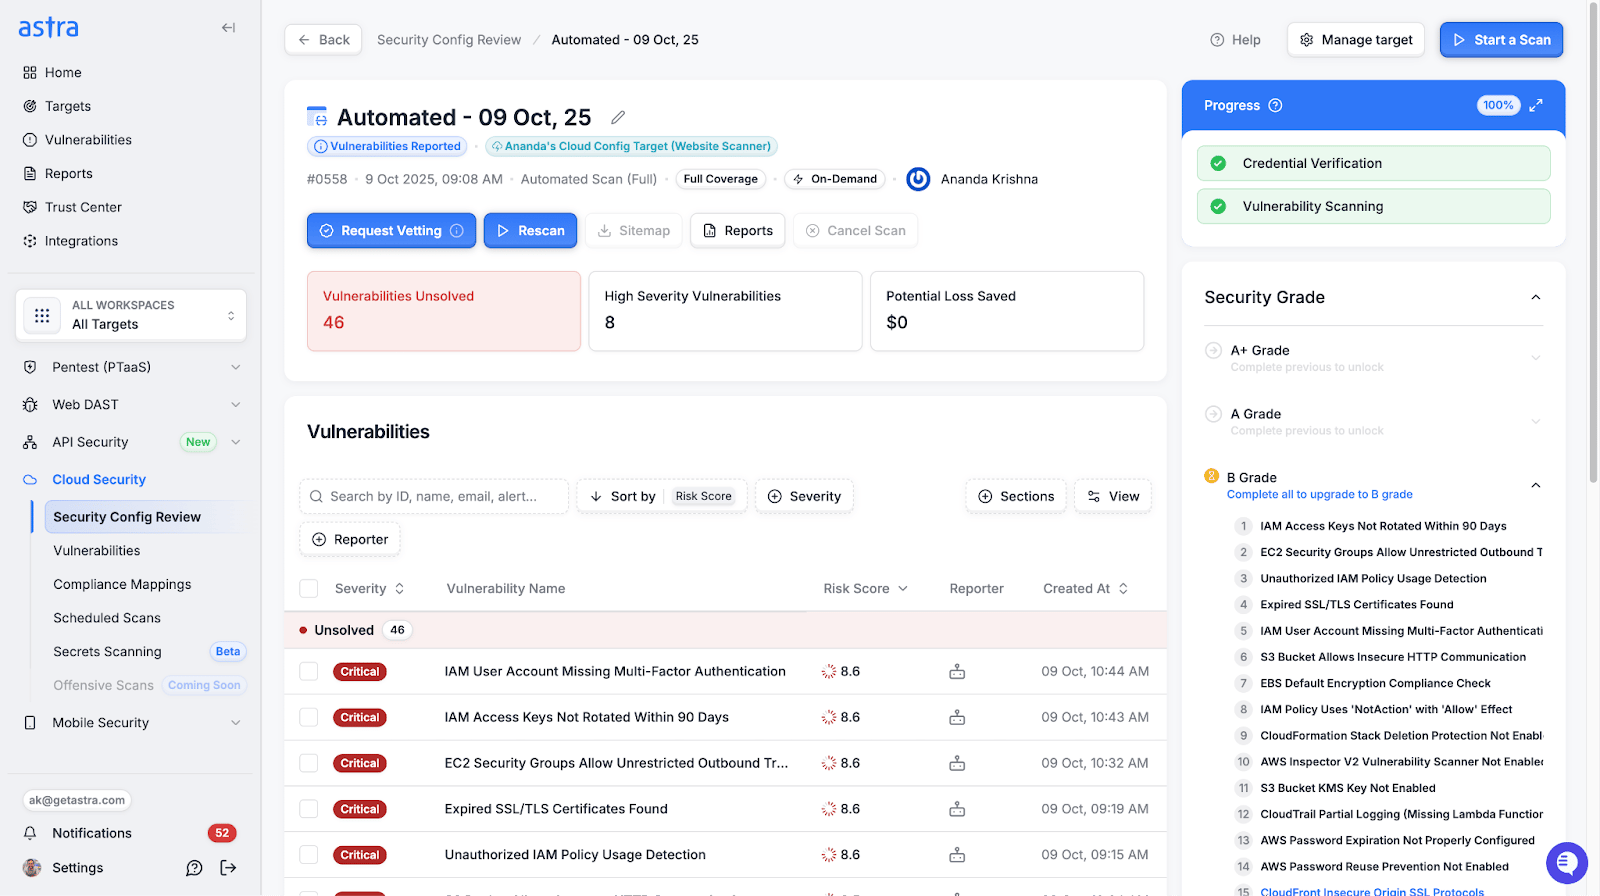
If your images live on Docker Hub, our guide to Docker Hub vulnerability scanning covers the registry side in more depth, and for the surrounding infrastructure, a cloud vulnerability scanner or a dedicated cloud penetration test closes the gaps an image scanner can’t see, such as IAM, network exposure, and cluster misconfigurations.
Why Scan Results are Noisy (and What’s Actually Real)
If you take one thing from this section, let it be this: a raw CVE count is not a risk measurement. Scan output is noisy for structural reasons, and knowing them is what separates a triage process from a panic process.
Backported patches. As covered above, Red Hat, Debian, and Ubuntu routinely backport security fixes into older package versions without bumping the upstream version number. Red Hat has documented for years that scanners deciding purely on version strings generate large volumes of false positives on its platforms, and publishes machine-readable OVAL advisories precisely so scanners can check real patch status instead.
Cross-ecosystem confusion. CPE-based matching regularly conflates same-named packages across ecosystems. Go applications flagged for CVEs in the C++ Protobuf implementation is a classic, well-documented case affecting dozens of popular projects. Ecosystem-aware (PURL) matching largely eliminates this class of noise.
Reserved and unpublished CVEs. Some findings point to CVE IDs that are reserved but carry no published details yet. There is nothing to assess and nothing to patch, considering that they are placeholders instead of action items.
Once the noise is filtered out, prioritization is about combining signals rather than sorting a single column. CVSS tells you how bad exploitation would be; EPSS tells you how likely exploitation is in the wild; the KEV catalog tells you it is already happening; and reachability analysis tells you whether the vulnerable code is even loaded in your workload. A medium-severity CVE on the KEV list in a reachable code path outranks a critical-severity CVE in a library your application never imports.
| Signal | What it tells you | Use it for |
|---|---|---|
| CVSS score | How severe exploitation would be, in the abstract | A quick baseline rating for every CVE |
| EPSS score | The modeled probability the CVE will be exploited in the wild | Ranking which findings attackers are likely to use |
| CISA KEV list | The CVE is confirmed as actively exploited today | Immediate, non-negotiable fix priority |
| Reachability | Whether the vulnerable code is even loaded or callable in your workload | Filtering findings that can't affect you |
| VEX statements | A machine-readable record of why a finding doesn't apply | Defensible, auditable suppression of false positives |
Rule of thumb: severity is not priority. CVSS answers “how bad if exploited?” It never answers “how likely, and does it apply to me?”
How to Actually Scan a Container Image: A 7-Step Walkthrough
Below we attempt to present an end-to-end workflow, in the order a security-mature team runs it:
1. Generate an SBOM. Inventory the image once with Syft (as shown earlier). This becomes your reusable record of what’s inside.
2. Scan the SBOM or image. Run your scanner against the SBOM or directly against the image. Prefer scanners that use distro advisories for OS packages.
# Scan the SBOM from step 1 (Anchore Grype)
grype sbom:./sbom.json
# ...or scan the image directly, ignoring CVEs that have no fix yet
grype nginx:1.27 --only-fixed
3. Read the report by origin. Separate OS-package findings from application-dependency findings as they have different owners, different fix paths (rebase vs. bump a dependency), and different noise profiles.
4. Filter the noise. Strip out backport false positives (check vendor advisories), cross-ecosystem mismatches, and reserved CVEs before anyone files a ticket.
5. Prioritize by exploitability, not severity alone. Sort what remains by KEV membership first, then EPSS, then CVSS, weighted by whether the component is actually reachable in your workload.
6. Fix, suppress, or accept. Fix by patching or rebuilding on an updated base. Suppress false positives with a VEX statement and recorded evidence. Accept residual risk only with an owner and an expiry date, so “accepted” never silently becomes “forgotten.”
7. Gate and rescan continuously. Enforce your policy as a CI/CD gate for new builds, and keep registry rescanning on so yesterday’s clean images get re-judged against today’s CVE data.
Container Image Security Best Practices: A Checklist
- Use minimal or distroless base images: less software in the image means structurally fewer CVEs to manage, before any scanning happens.
- Pin base images by digest, not by tag: latest is mutable; a digest guarantees you know exactly what you built on.
- Scan at build AND rescan in the registry: build-time scanning alone goes stale the moment a new CVE drops.
- Rebuild promptly on upstream fixes: patched base images only help images that are actually rebuilt on them.
- Never bake secrets into layers: use build secrets or runtime injection; a deleted secret still lives in its original layer.
Two of these practices, digest pinning and build-time secret mounts, look like this in a Dockerfile:
# Pin the base image by digest, not a mutable tag
FROM alpine@sha256:4bcff63911fcb4448bd4fdacec207030997caf25e9bea4045fa6c8c44de311d1

# Mount a secret at build time only — it never lands in a layer
RUN --mount=type=secret,id=aws,target=/root/.aws/credentials \
aws s3 cp s3://mybucket/app.tar.gz /tmp/- Keep an SBOM per image: so when the next Log4j-class event hits, you have the answer to “are we affected?” in minutes since you no longer are required to rescan your whole estate.
- Don’t stop at the image: pair it with runtime, cluster, and cloud-configuration coverage since container image scanning secures the artifact and not its running environment.
Final Thoughts
In this guide of ours, we’ve tried to surmise everything related to container security scanning. From definition to origin, workings to types and scanning methods and from the noise to how one exactly needs to go about container security scanning.
Despite being one of the highest-leverage controls in a cloud-native security program— containers concentrate so much inherited software into one artifact— its value depends entirely on how you run it: distro-aware matching, continuous registry rescanning, etc.
Moreover, remember its limits: component matching finds known CVEs, not the logic flaws and chained attack paths that autonomous, continuous pentesting is built to uncover. If you’d like both disciplines applied across your images, cloud, and applications together, coupled with expert-verified findings rather than raw CVE dumps, Astra’s continuous vulnerability scanning and pentest platform is built for exactly that. Either way, start with an SBOM, rank exploitability over severity, and never let a clean build-time scan convince you the job is done.
FAQs
Why does my container image have so many vulnerabilities?
Container images have a multitude of vulnerabilities because you inherit every package in your base image and every transitive dependency of your application.
Why do Trivy and Grype give different results on the same image?
They build their inventories differently and match against vulnerability databases using different methods (CPE vs. PURL vs. distro advisories) and different data sources.
What’s the difference between image scanning and runtime scanning?
Image scanning inspects the static artifact’s layers and packages, before or after deployment, without executing anything. Runtime scanning observes running containers: what is actually loaded, whether the container drifted from its image, and whether vulnerable code is reachable.
Can container scanning detect zero-days?
No. Image scanners match components against databases of known, published vulnerabilities. For defending against unknowns, try minimizing the attack surface (minimal images, least privilege), focus on runtime behavioral detection, and periodic manual penetration testing.
Should I fix every CVE a scan reports?
No, and trying to do so burns out teams. Start by filtering false positives first, then prioritize by KEV memberships, EPSS, and reachability. For a detailed understanding, read our Container vulnerability scanning guide.